Flying Disc Dog Toy Reviews: Find the Perfect One Now
Alright folks, gather 'round! Today, I'm sharing my little adventure in crafting a flying disc dog toy. It all started when I noticed my furry pal, Max, was getting bored with his usual chew toys. I thought, "Why not try making something myself?" So, I rolled up my sleeves and got to work.
First things first, I grabbed some supplies. I dug out an old plastic container lid – you know, the kind that's sturdy but flexible. I figured that would be a good base. Then, I scrounged around for some tough fabric scraps. I had an old pair of jeans that were beyond repair, so I chopped them up.
Next, the fun part! I laid the lid on the fabric and traced around it, leaving a couple of extra inches all around. I cut out two circles of fabric – one for the top and one for the bottom. Then, I started sewing the edges together, right sides facing in, leaving a small opening to flip it inside out.
Flipping it inside out was a bit tricky, but I managed it. Now I had a fabric-covered disc with an opening. I grabbed some stuffing – you can use old towels, pillow stuffing, or even more fabric scraps. I packed it in pretty tightly to give the disc some weight and make it easier to throw.
The last step was sewing up that opening. I folded the edges in and stitched it closed with a sturdy stitch. I went over it a couple of times to make sure it wouldn't come undone when Max got his teeth on it. And there you have it – a homemade flying disc dog toy!
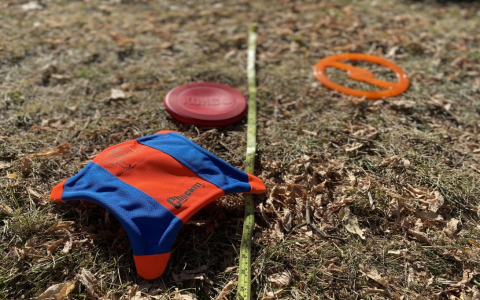
Now, the real test: Max's reaction. I took him to the park and gave the disc a toss. He went wild! He chased after it, caught it, and brought it back, tail wagging like crazy. It was a total success! He loves his new toy, and I feel good knowing I made something for him with my own two hands.
Important note: Keep an eye on your dog while they're playing with the toy. If they start to tear it apart, take it away. You don't want them swallowing any stuffing or small pieces of fabric. Safety first, always!