Fun dog ornaments diy for the holidays (Make your Christmas tree special this year)
Alright, let's talk about making some dog ornaments. I got tired of the same old stuff you find in stores, wanted something more personal for my furry buddy. So, I decided to just make my own.
Getting Started - The Stuff
First thing, I had to gather the supplies. Wasn't anything too fancy. I went with the classic salt dough recipe because, well, it's cheap and easy. Just needed:
- Flour - the regular all-purpose kind.
- Salt - table salt works fine.
- Water - straight from the tap.
For tools and decorating, I grabbed:
- A big bowl for mixing.
- A rolling pin (or a sturdy bottle, whatever works).
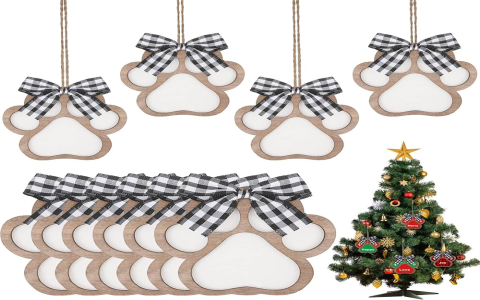
- Cookie cutters – I found a bone shape and a paw print shape, pretty standard.
- A straw or skewer to poke a hole for hanging.
- Baking sheet and parchment paper.
- Paint – just some basic acrylic paints I had lying around.
- A brush or two.
- Some kind of sealer (like Mod Podge or clear spray paint) if you want them to last.
- Ribbon or string for hanging.
Important bit: Keep your dog away while you're actually working with the raw dough, especially the salt dough. It's not good for them to eat.
Making the Dough and Shapes
Okay, so I dumped about two cups of flour and one cup of salt into the bowl. Gave it a quick mix. Then I started adding water, maybe three-quarters of a cup? I didn't really measure precisely, just added it slowly until the dough started coming together. You want it firm, not sticky. Kneaded it for a few minutes on a floured counter until it felt smooth-ish.
Then came the rolling part. Floured the counter again, plopped the dough down, and rolled it out. Aimed for about a quarter-inch thick. Too thin and they break, too thick and they take forever to dry.
Used my cookie cutters to cut out the shapes. Bone shapes, paw shapes. Got a decent pile of them. I re-rolled the scraps to get a few more. For each one, I remembered to poke a hole near the top using a straw before they went in the oven. Don't forget this, or you'll have trouble hanging them later.
Baking (or Drying)
I lined a baking sheet with parchment paper and laid out the shapes. Then I baked them low and slow. Like, really low. Around 250 degrees Fahrenheit (that's about 120 Celsius). Took a few hours, honestly. You just want them to get hard, not really brown. I flipped them once halfway through. You could also just let them air dry for a couple of days, but I'm not that patient.
Once they felt hard and sounded clinky when tapped, I took them out and let them cool completely. Seriously, wait until they are totally cool before painting.
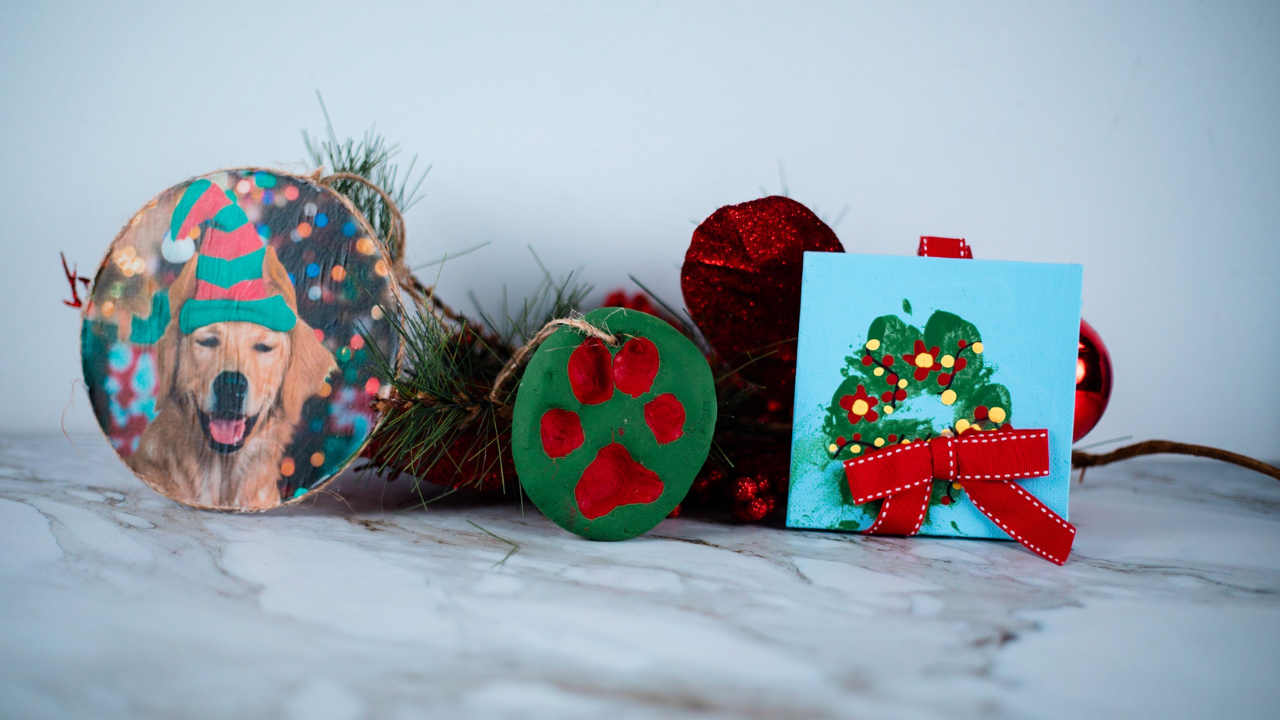
Decorating Time
This was the fun part, sort of. I laid out some newspaper. Got my paints ready. I kept it simple. Painted the bones white, the paws a sort of tan color. Let that dry.
Then I thought about adding names or little details. Tried writing my dog's name, "Buddy," on one. Used a finer brush for that. Added the year on the back. You could go crazy with glitter or patterns, but I just wasn't feeling it. Simple seemed better.
Quick tip: If you mess up the paint, sometimes you can wipe it off quickly if it's still wet. Or just paint over it once it's dry. No big deal.
After all the paint was totally dry, I put a coat of clear sealer on them. I used a spray kind because it was faster. Did it outside because of the fumes. This step just helps protect the paint and makes them last a bit longer.
Finishing Up
Last step was just threading some ribbon through the holes I made earlier. Tied a simple loop, and bam – homemade dog ornaments.
They aren't perfect, you know? Some are a bit lumpy, the paint isn't professional. But they were made by me, for my dog. Hung a few on the tree, gave one to a friend. It felt good, making something with my own hands instead of just buying it. Buddy sniffed them once, wasn't impressed, but that's okay. They weren't really for him to chew on anyway.