Warm Dog Harness Jacket: Is it Right for Your Pup?
Alright, so I finally got around to making that dog harness jacket I've been meaning to do for ages. Let me walk you through the whole thing, it was a bit of a ride!
First off, I measured my pup. This is super important! You don't want a jacket that's too tight or too loose. I measured around his chest, neck, and back length. Wrote all that down, double-checked it, then started looking for patterns.
Finding a good pattern was harder than I thought. Ended up Frankensteining a couple together. I took the basic shape of one dog coat pattern and then adapted a harness pattern to integrate with it. Basically, I wanted the harness part to be built-in, not just something strapped over the coat. I drew out my modified pattern on some paper, adding extra seam allowance 'cause I'm always nervous about cutting too small.
Next up, fabric selection. I went with some heavy-duty canvas for the outer layer – gotta be durable! And a soft, fleece lining for comfort. Plus, some nylon webbing for the harness straps. I cut out all the pattern pieces from the fabric, making sure to mirror the pieces where necessary. This is where I always get a little stressed I'm gonna screw something up.
Then the sewing began! I started by sewing the fleece lining to the canvas outer layer, right sides together, leaving an opening for turning it right side out later. This was a bit bulky with the two layers, but my machine handled it okay. After turning it right side out, I pressed the seams flat. Made a huge difference in how it looked.
The harness part was next. I sewed the nylon webbing to the canvas in a way that created the loops for the D-ring and the adjustable straps. This involved a lot of careful pinning and measuring to make sure everything lined up correctly. I also reinforced the stitching on the harness points, because those are the areas that will take the most strain. Can't have the thing falling apart on our walks!
After that, I added the D-ring and the adjustable buckles for the harness. Made sure they were securely attached. I then closed up the opening I had left for turning the jacket right side out, using a hidden stitch. Gotta make it look clean!
Finally, I added some reflective tape to the back of the jacket for visibility during evening walks. Safety first! And I also added a little Velcro strap to keep the jacket closed around his belly.
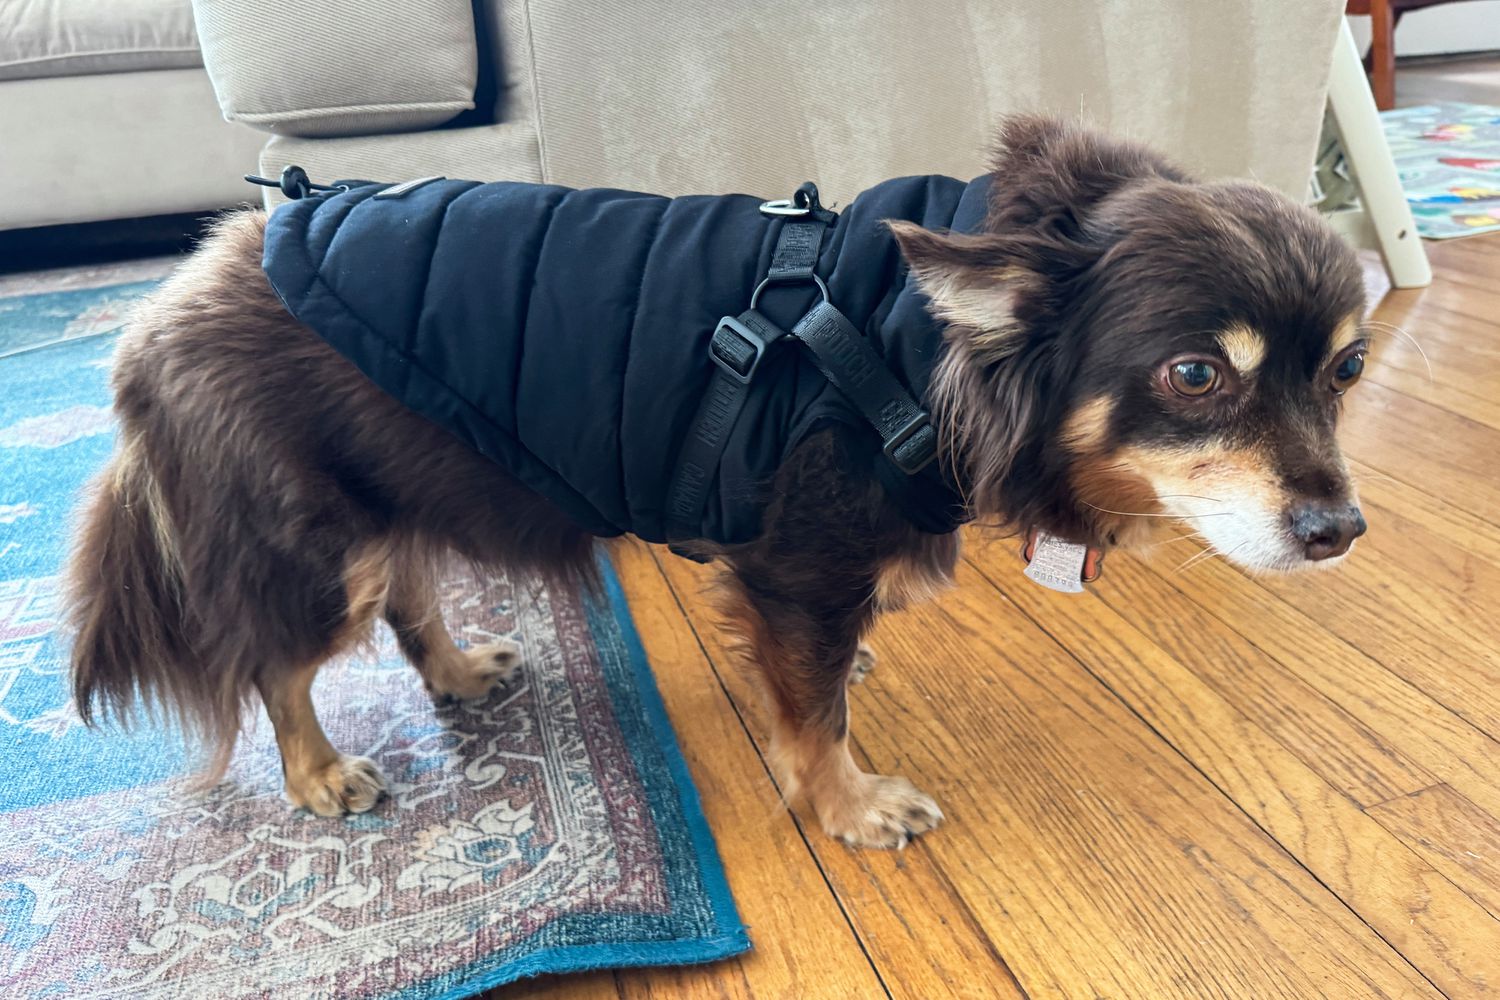
The moment of truth: tried it on my dog! It fit pretty well, actually. A little snug around the chest, but he seemed comfortable enough. He strutted around the house like he owned the place. Minor adjustments were needed, I had to let out the chest area a little. Ripped a few seams and resewed them but that's just part of the process.
All in all, it took me a couple of days, but I'm pretty happy with how it turned out. It's a functional harness jacket that should keep him warm and safe on our walks. Plus, I can say I made it myself! Next time, I might try a different closure system, maybe zippers instead of Velcro.
- Measured the dog
- Drew out the pattern
- Cut the fabric
- Sewed the layers together
- Added the harness
- Fitted and adjusted
Definitely a learning experience, but worth it!