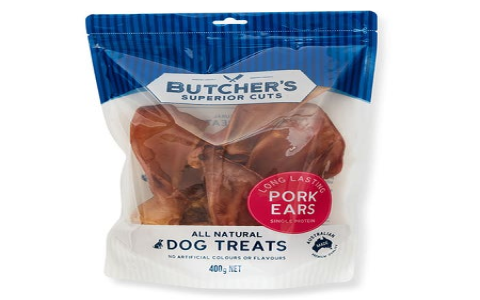
Which pork ears for dogs should you buy? Find high quality options your pet will surely love.
Okay, so I decided to give making my own pork ears for my dog a shot. The ones you buy at the store cost a fortune, and sometimes you wonder what's really in them, you know? Plus, I like doing stuff for my furry buddy.
Getting Started
First thing, I had to get the ears. Went down to my local butcher. You gotta ask sometimes, they don't always have them out. Found some nice looking ones, seemed pretty clean already, which was a bonus. Brought them home and gave them a really good wash under cold water anyway. You want to get any gunk off.
Prep Work - The Not-So-Fun Part
Now, some folks just trim and bake, but I heard boiling them first helps render out a lot of the fat, makes them less greasy, and maybe easier to dry out. So, that's what I did. Got a big pot, filled it with water, and dumped the ears in. No salt, no spices, nothing – just plain water. Let them simmer for about an hour, maybe a little more. The kitchen smelled, well, like boiling pork ears. Not exactly roses.
After boiling, I fished them out and let them cool down enough to handle. They were kinda floppy and slippery. I trimmed off any really big chunks of fat that were still obvious. You don't want to give your dog pure fat, right? Then I laid them out on paper towels and patted them down really well to get rid of excess water. This part is important for drying later.
Drying Time - Low and Slow
Here’s where the patience comes in. I decided to use my oven because I don't have a fancy dehydrator. Set the oven to its lowest temperature – mine goes down to about 170°F (around 75-80°C). You don't want to cook them fast, you want to dry them out slowly.
I placed the ears directly on the oven racks. Put a baking sheet lined with foil on the bottom rack to catch any drips. Saves a lot of cleaning hassle later, trust me. And then? I just left them in there for hours. Like, 8 to 10 hours, maybe even longer depending on how thick they are.
- Checked them every couple of hours.
- Flipped them over maybe halfway through.
- You're looking for them to get hard and leathery, not burnt or greasy.
The smell wasn't too bad during drying, just a faint porky smell. Much better than the boiling part.
Cool Down and The Big Test
Once they looked done – really hard and kinda shrunken – I turned off the oven and let them cool down completely inside the oven with the door cracked open. This helps make sure they're totally dry.
Storage is simple: just put the dried ears in an airtight container or a ziplock bag. Keep them in a cool, dry place. No need to refrigerate if they're properly dried.
And the moment of truth? Gave one to my dog. Man, he went absolutely crazy for it! Sniffed it, grabbed it, ran off to his favorite spot, and just chewed happily for ages. Way more enthusiasm than for the store ones, I swear.
Was it Worth It?
Yeah, it was. It takes time, definitely. It's not a quick process. And boiling them isn't the nicest smell. But knowing exactly what my dog is eating? That feels good. Plus, seeing how much he enjoyed it made the effort totally worth it. Way cheaper in the long run too. Give it a try if you've got a lazy weekend day!