Adorable Christmas Tree Dog Ornaments Youll Love
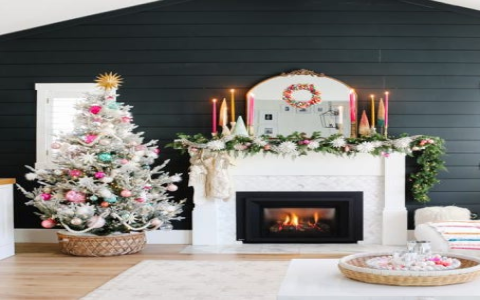
Alright, let's talk about these christmas tree dog ornaments I made. The tree just looked a bit… empty? And I wanted something special, you know, something to represent the furry member of the family. Couldn't find exactly what I pictured in the shops, everything looked kinda cheap or just not right. So, I figured, why not make some myself?
Getting Started - The messy bit
First thing, I needed supplies. Dug around the craft box, found some polymer clay I bought ages ago. Still good, thankfully. Also grabbed:
- A rolling pin (just the kitchen one, cleaned it after!)
- Cookie cutters - found a bone shape and a paw print one. Perfect.
- A straw, for making the hole to hang them.
- Baking paper and a baking sheet.
- Acrylic paints – just basic red, white, green, brown, black.
- Some glitter glue I had left over from another project.
- Thin ribbon for hanging.
Pretty simple stuff, really. Nothing fancy.
Making the Ornaments
Okay, so I started by kneading the clay a bit to soften it up. Then I rolled it out on the baking paper. Didn't want it too thin, maybe like a quarter-inch thick? Something sturdy. Then, just pressed the cookie cutters into the clay. Made a bunch of bones and paw prints. Simple as that.
Important part: Don't forget the hole for the ribbon! I almost messed this up on the first batch. Used the end of a drinking straw to poke a hole near the top of each shape before baking. Much easier than trying to drill it later.
Then came the baking. I just laid them all out on the baking sheet lined with baking paper and followed the instructions on the clay package. Think it was about 15-20 minutes? The kitchen smelled a bit weird, but hey, crafting smells. Let them cool down completely. This part takes patience, I always want to grab them too early.
Painting and Finishing
Once they were cool, it was painting time. This is where you can get creative. I kept it simple. Painted the bones white, the paw prints a sort of beige-y brown. Let that dry.
Then I added some details. Wrote my dog’s name, "Max," on a few of the bones with black paint and a thin brush. Added some festive dots – red and green – around the edges of some. Used that glitter glue to add a bit of sparkle to the paw pads on the paw print ones. You just gotta let each layer dry, otherwise it all smudges together. Learned that the hard way on a different project once.
Finally, after everything was totally dry – like, really dry, maybe wait overnight just to be sure – I threaded the ribbon through the holes I’d made earlier. Tied a simple knot to make a loop, and bam. Done.
The Result
They actually turned out pretty good! Hung them on the tree and they look really cute. Max just sniffed them suspiciously when I showed him, probably thought they were treats. Nope, buddy, these are for decoration. Anyway, it was a fun little project, didn't take too long, and now the tree feels a bit more 'us'. Definitely better than the generic store-bought stuff.
