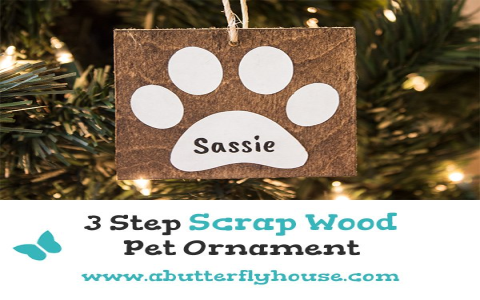
Adorable DIY Dog Print Ornament: A Keepsake to Love
Alright folks, gather 'round! Today I'm spilling the beans on a super cute and easy DIY project I tackled last weekend: a dog print ornament. You know me, always looking for a way to personalize my holiday decor, and what's more personal than slapping my furry friend's mug on a tree ornament?
So, first things first, I grabbed my supplies. I needed some oven-bake clay (I went with white, figured it'd make the print pop), a rolling pin, a cookie cutter (a bone shape, naturally!), some acrylic paint (brown for the paw print, maybe some red and green for festive touches), a straw, some twine, and of course, my willing (sort of) canine participant, Buster.
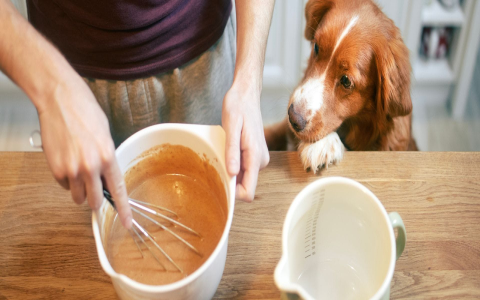
Then, I kneaded the clay until it was soft and pliable. This is important! You don't want any cracks in your finished ornament. I rolled it out to about ¼ inch thickness. Not too thin, not too thick, just right for a good paw print.
This is where it got interesting. I coaxed Buster over (treats were involved, obviously). Now, getting a dog to cooperate is a whole other story. I dipped his paw in some non-toxic brown paint (safety first!), making sure it was evenly coated. Then, with a deep breath and a prayer to the craft gods, I gently but firmly pressed his paw onto the clay.
He wiggled, of course he did. But thankfully, the print came out pretty decent. It wasn't perfect, but hey, that's part of the charm, right? I quickly lifted his paw and gave him a treat to distract him from the paint situation.
Next, I used the bone-shaped cookie cutter to cut out the ornament around the paw print. I made sure to leave enough space around the print so it wouldn't get cut off. Then, I used a straw to create a small hole at the top for hanging. Don't forget this step! You'll kick yourself later.
I carefully placed the clay bone onto a baking sheet lined with parchment paper and baked it according to the clay's instructions. Keep a close eye on it! You don't want it to burn. Once it was cool, I added a little bit of red and green paint to make it more festive. You know, a little holly or a simple dot border.
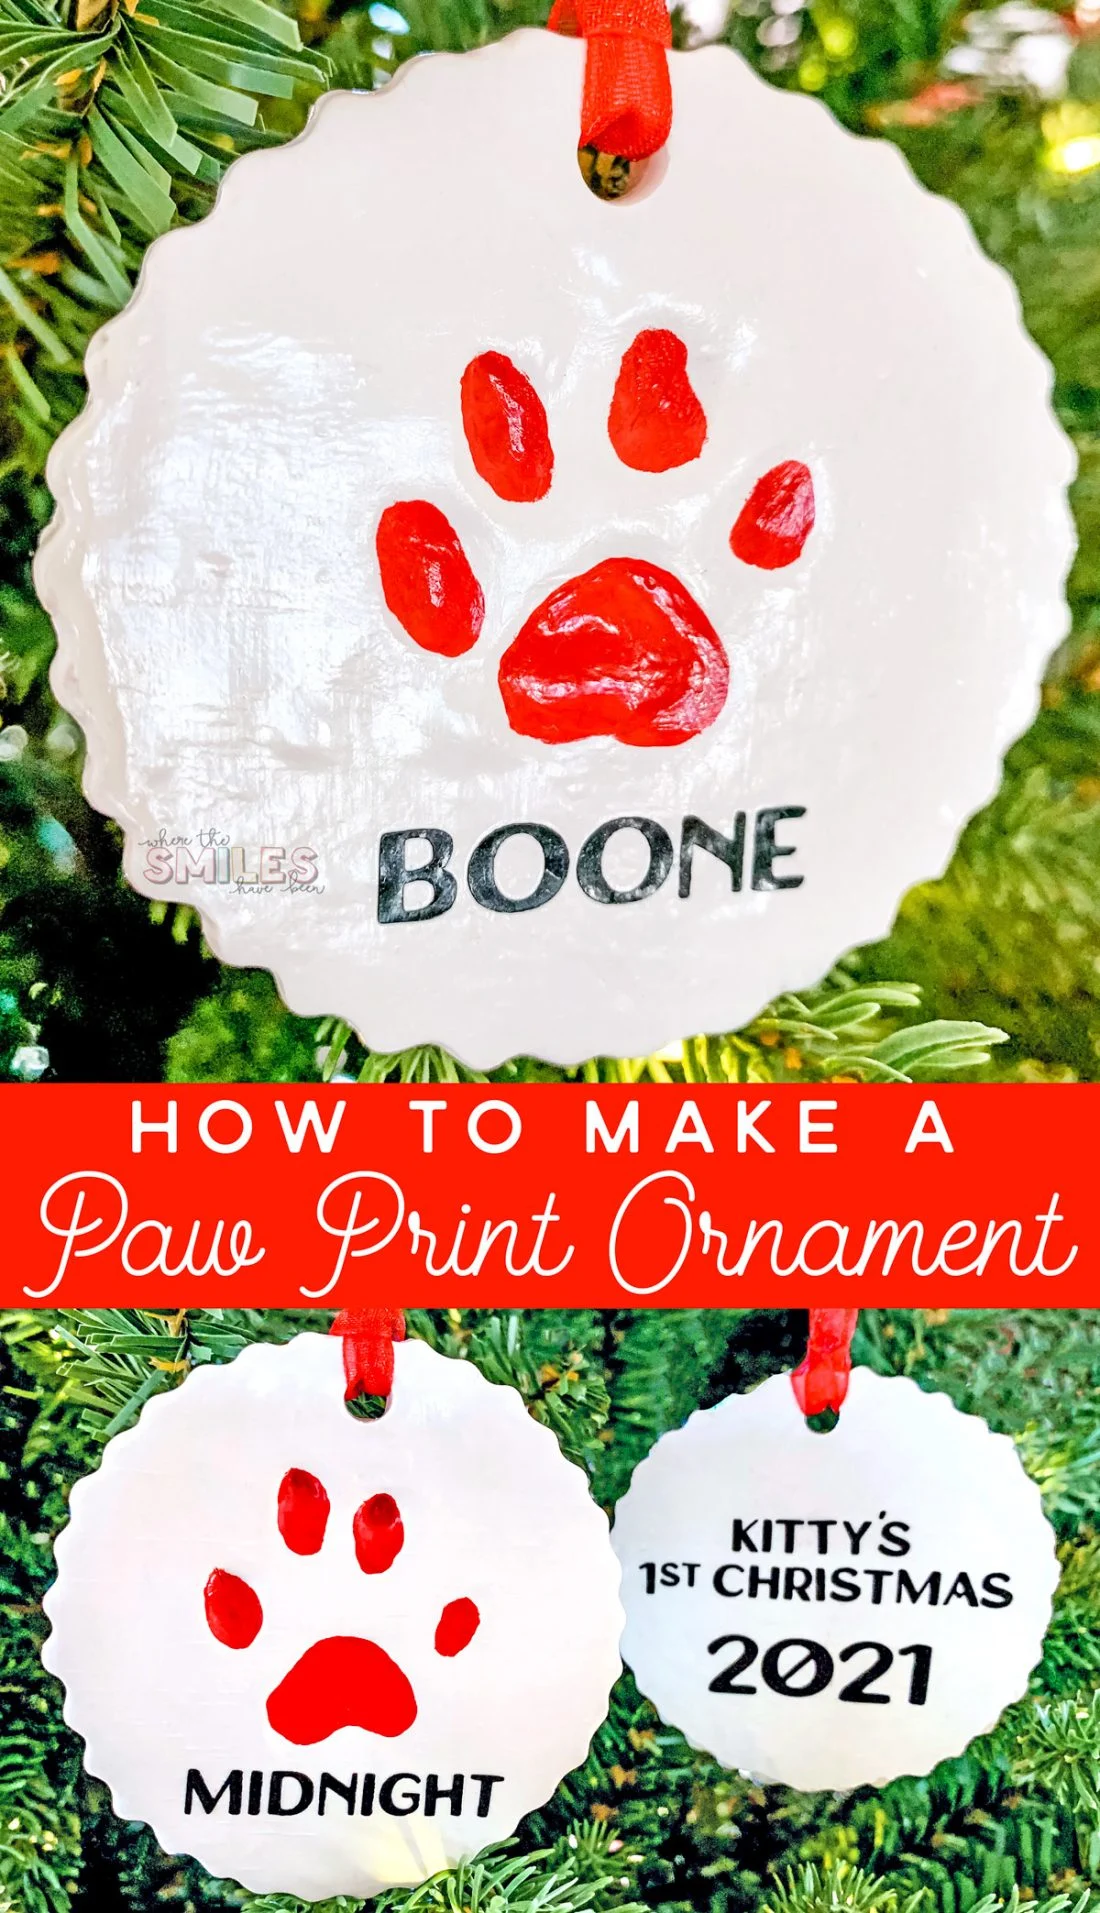
Finally, I threaded some twine through the hole, and voila! A personalized dog print ornament, ready to hang on the tree. It’s not perfect, but it’s made with love (and a little bit of dog slobber, probably). This little project turned out way better than I expected and it's a fun way to immortalize my best boy on our Christmas tree!
Definitely give this a try if you're looking for a simple and adorable DIY gift or a way to add a personal touch to your holiday decorations. It's a fun afternoon activity, and you'll end up with a keepsake you'll treasure for years to come!