Best Dog Food Bowls for Pugs: Top Picks & Buying Guide
Ok, here we go!
My Pug-Approved DIY Dog Food Bowls
Alright, so, lately I've been noticing my pugs were having a tough time eating. You know, the usual snorting and pushing their faces all over the bowl. It was a mess! So, I figured, "Hey, why not try making some custom dog food bowls?" I mean, how hard could it be?
Step 1: The Research (aka Google-Fu)
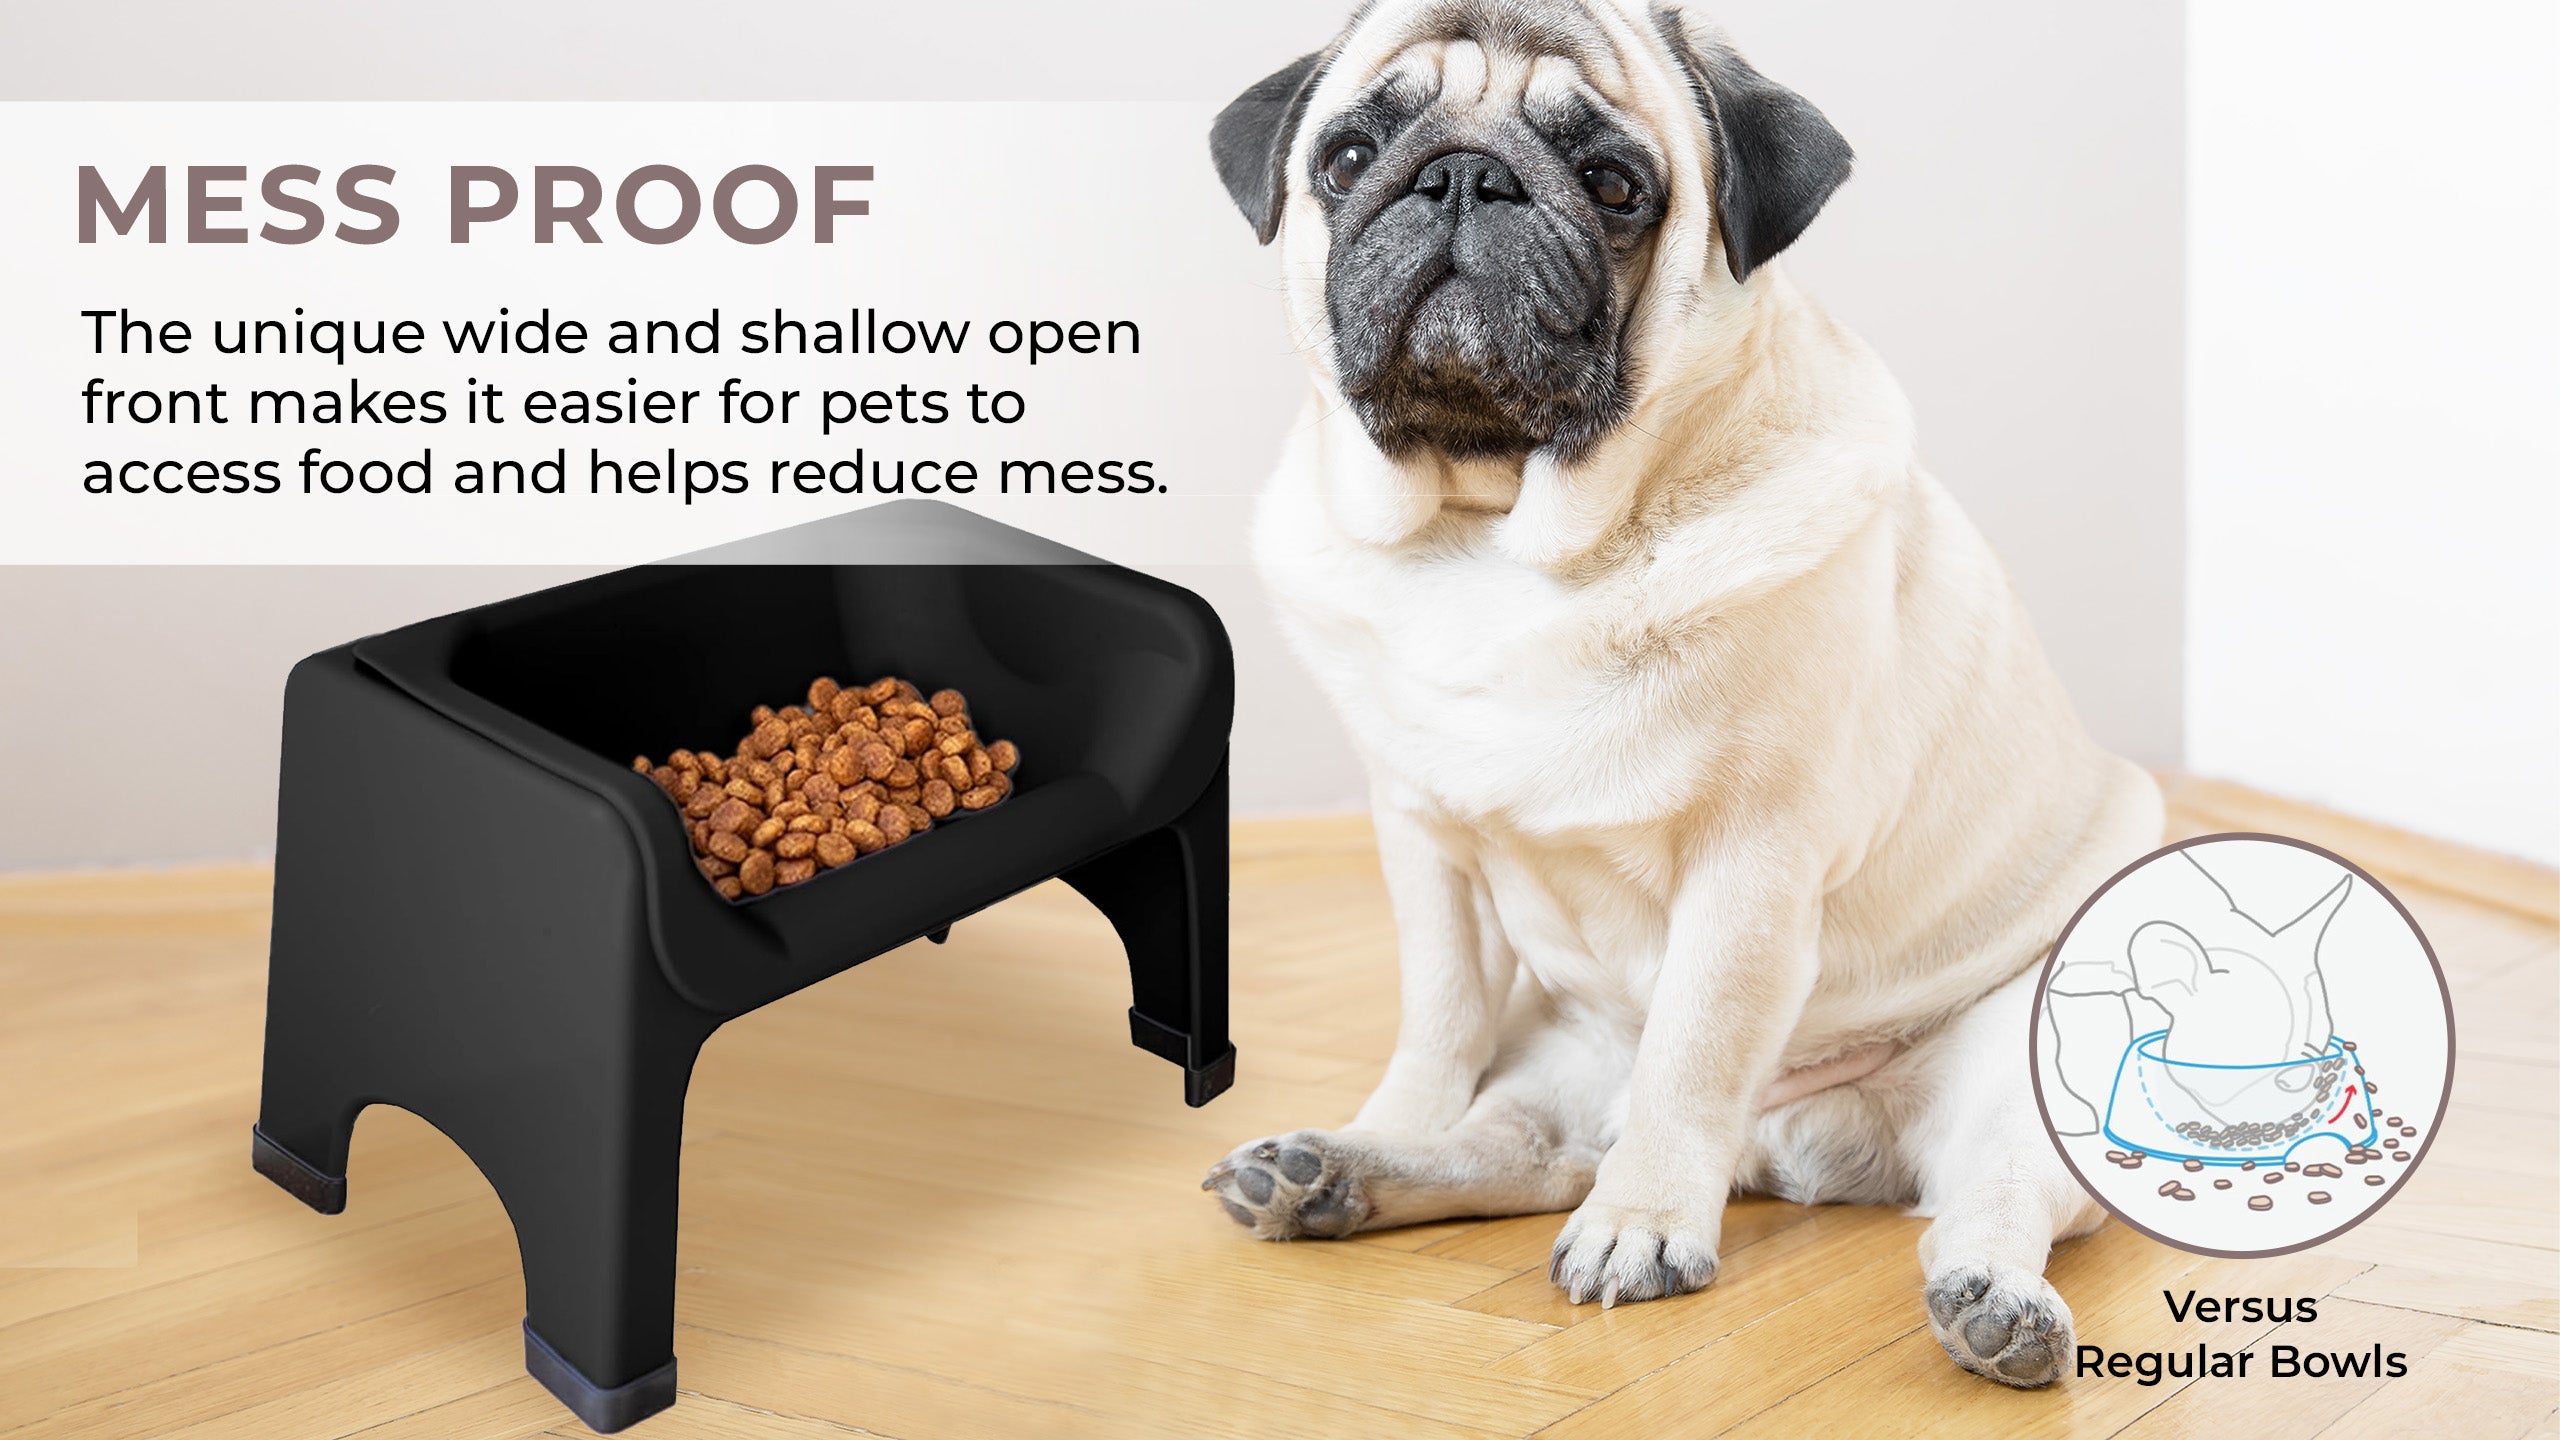
First, I hit Google hard. Looked up "best dog food bowls for pugs," "DIY dog bowl stand," you name it. Saw a bunch of fancy elevated bowls and some shallow dish options. Figured elevated would be good for their necks, less strain and all that.
Step 2: Gathering Supplies
Next up, the fun part (sort of): shopping! I went to the local hardware store and grabbed:
- Some wood planks (nothing too fancy, just some pine)
- Wood glue (because, duh)
- Screws (for extra hold)
- Sandpaper (gotta smooth those edges!)
- Dog bowls (stainless steel, easy to clean – gotta keep those germs away!)
- Wood stain (because plain wood is boring)
- Polyurethane (to seal it all up and make it water-resistant)
Also grabbed some measuring tape, a saw (I have a jigsaw, makes life easier), a drill, and some clamps.
Step 3: Cutting and Building the Frame
Okay, this is where things got interesting. I measured the diameter of the dog bowls and then planned out the size of the opening in the top of the stand. Cut the wood planks into the sizes I needed for the top, sides, and base of the stand. The jigsaw was a lifesaver for cutting the circular openings for the bowls. Made a bit of a mess, but hey, that's part of the process, right?
Then, I glued and screwed the sides to the base. Used clamps to hold it all together while the glue dried. Let me tell you, waiting for glue to dry is the worst part of any DIY project!
Step 4: Sanding and Staining
Once the frame was solid, I sanded everything down. Smooth edges are important, especially with clumsy pugs around. Then, I applied the wood stain. I went with a dark walnut color – looked pretty classy, if I do say so myself. Let the stain dry completely, then applied a couple of coats of polyurethane. Gotta protect that wood from slobber and spills!
Step 5: The Big Reveal (and Pug Testing!)
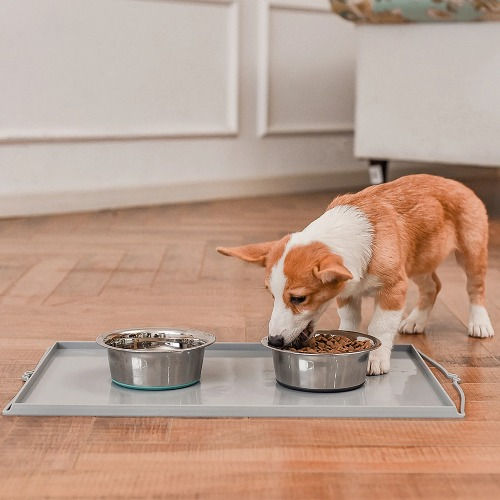
Finally, it was done! I placed the dog bowls into the openings and called in the pugs. They were a little confused at first, but then they started chowing down. And you know what? It actually worked! Less snorting, less face-smashing into the bowl. They seemed way more comfortable.
The Verdict: Worth It!
So, yeah, making dog food bowls for pugs was a bit of a project, but totally worth it. My pugs are happier, mealtime is less messy, and I got to flex my DIY muscles. Plus, now I can say I built something with my own two hands (even if it's just a dog bowl stand). If you're thinking about doing something similar, go for it! Just be prepared for a little bit of sawdust and maybe a few pug-related distractions along the way.