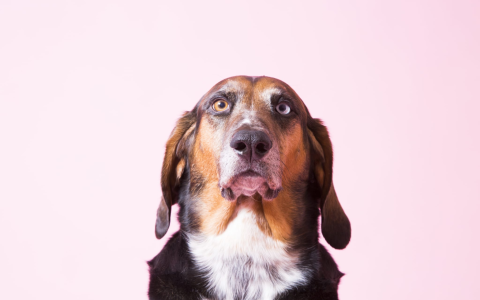
Best homemade dog paw ornaments ideas? Check out our easy tutorial.
Alright, so I decided to try making those dog paw ornaments I've seen floating around. Seemed like a nice little project, something to remember my buddy Max by, you know? Not like he's going anywhere, but it's cute for the tree or just to hang up.

Getting Started - The Dough
First thing was making the dough. It's pretty simple stuff, really. I just grabbed a bowl from the kitchen cupboard.
- Flour: I think I used about a cup of just plain all-purpose flour. Nothing special.
- Salt: Threw in maybe half a cup of regular table salt. Helps it dry hard, I guess.
- Water: Then I just added water, maybe half a cup to start? Didn't really measure precisely, just poured a bit in and started mixing with my hands. You want it like a firm dough, not too sticky, not too dry. Had to add a splash more water actually, it was a bit crumbly at first. Just kept kneading it on the counter for a few minutes until it felt right. Put down some parchment paper first though, makes cleanup way easier. Learned that the hard way before.
The Paw Print Moment
Okay, this was the fun part. And potentially messy part. I rolled out a chunk of the dough on the parchment paper, maybe about half an inch thick? You don't want it too thin or it'll break. Called Max over. He was suspicious, sniffing the dough like crazy. I had to gently take his paw – made sure it was clean first, no mud! – and press it firmly down into the dough. Straight down, straight up. He pulled back pretty quick the first time, left a bit of a smudge. So, I kneaded that bit back up and rolled it out again. Second try was much better. Got a nice clear print. Phew. Did a couple more just in case one didn't turn out.
Cutting and Prepping
Once I had the prints I liked, I used a round cookie cutter, one that was big enough to go around the paw print with some space. You could use a glass rim too, probably. Carefully cut out the circles. Then, super important, I used a straw to poke a hole near the top of each one. Gotta have a way to hang it, right? Made sure the hole was clean and went all the way through.
Baking Time
Then came the baking. Or drying, really. You can air dry them for a couple of days, but I'm impatient. I put them on a baking sheet lined with that same parchment paper. Stuck them in the oven at a low temperature, maybe 200-250 degrees Fahrenheit? Honestly just turned it low. Left them in there for like, 2 or 3 hours? I checked them every so often. You want them to be hard, totally dried out. Flipped them over about halfway through to make sure both sides got dry. They shouldn't really brown much, just get hard.
Finishing Touches
After they were completely cool – and I mean completely, give it time – came the decorating. This part's all up to you. I kept it simple. Used some basic acrylic craft paint. Painted the main part of one white. Let that dry. Then I carefully painted inside the paw print impression with a different color, maybe blue? Made it pop a bit. On another one, I just left it the natural baked color and wrote Max's name and the year underneath the print with a permanent marker. Tied a bit of ribbon through the hole I'd made earlier.
And that's pretty much it. Got myself some custom ornaments. They look pretty neat, actually. Max sniffed his finished paw print, probably wondering why his foot was suddenly hanging on a ribbon. Worth the little bit of effort, definitely a fun thing to do.
