Dog Crab Toy: Why Your Dog Needs This Cute Toy
Alright, let me tell you about this dog crab toy I made. It was a whole thing, but kinda fun.
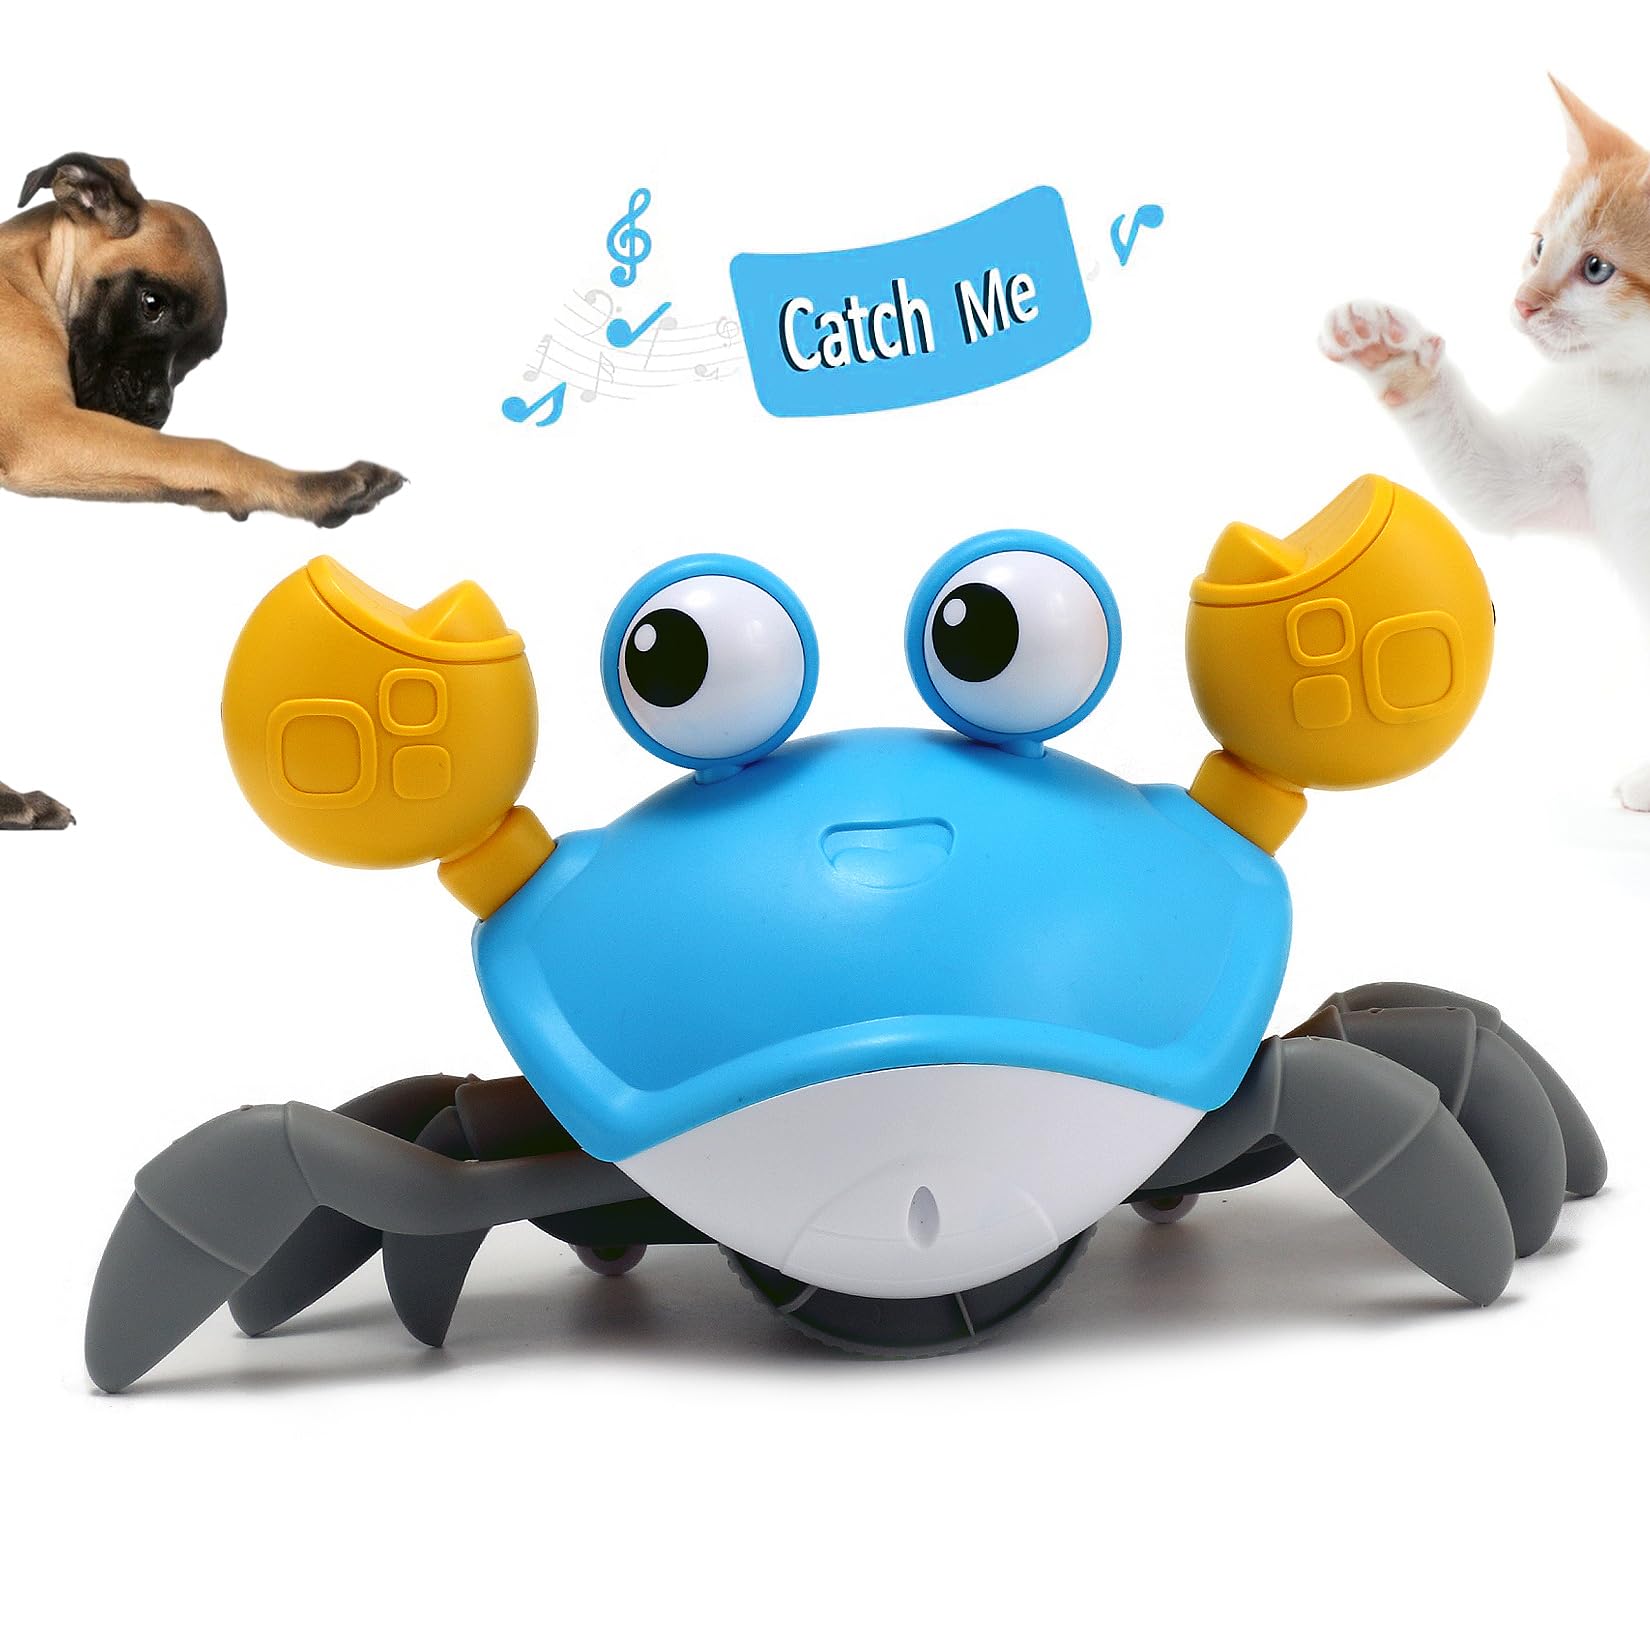
It all started when I saw a picture online of a dog toy that looked like a crab. My dog, Max, loves toys he can thrash around, and this looked perfect. I thought, "I can totally make that." Famous last words, right?
Step one: Planning and Supplies I started by sketching out a basic crab shape. Nothing fancy, just a body, some legs, and claws. I figured felt would be a good material – durable and easy to work with. So, I grabbed some red, orange, and black felt from my local craft store. I also picked up some stuffing, a squeaker (because what's a dog toy without a squeaker?), some thread, and my trusty sewing machine.
Step two: Cutting the Felt Cutting the felt was honestly the most tedious part. I made a simple pattern on some paper and then traced it onto the felt. I needed two body pieces, eight leg pieces, and two claw pieces. Let me tell you, cutting eight identical legs is a pain! My hand was cramping by the end.
Step three: Sewing the Legs and Claws Next up, I sewed the leg pieces together in pairs, leaving one end open for stuffing. Same with the claws. Turning those little legs right-side out was a challenge! I used a chopstick to help push the fabric through. Then, I stuffed them pretty firmly so Max couldn't easily rip them apart.
Step four: Assembling the Body This is where things got a little tricky. I pinned the legs and claws to one of the body pieces, making sure they were evenly spaced. Then, I placed the other body piece on top and pinned everything together. I sewed around the edge, leaving a gap for stuffing and the squeaker.
Step five: Stuffing and Squeaking I started stuffing the body, making sure to get into all the nooks and crannies. Once it was mostly full, I shoved the squeaker in there. This was the moment of truth. I pressed on the body and... SQUEAK! Success! I finished stuffing the body until it was nice and firm.
Step six: Closing it Up Finally, I carefully sewed up the gap with a needle and thread, using a hidden stitch to make it look neat. I added some simple embroidered eyes with black thread. And there it was – a slightly wonky, but definitely crab-like, dog toy.
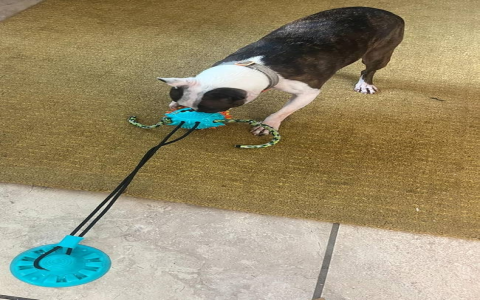
The Verdict: Max LOVES it! I gave it to Max, and he immediately started thrashing it around. He loves the squeaker, and the legs are perfect for him to chew on. It's not the prettiest toy, but it's durable and he loves it, which is all that matters. Plus, I made it myself, which is kinda cool.
- Lessons Learned:
- Felt is a good choice, but maybe a thicker felt would be even better.
- Cutting out all those legs was a drag. Maybe next time I'll simplify the design.
- Max is a tough critic, but he seems genuinely happy with his new crab friend.
So, yeah, that's the story of the dog crab toy. It was a fun little project, and I might even try making some other animal toys in the future. We'll see!