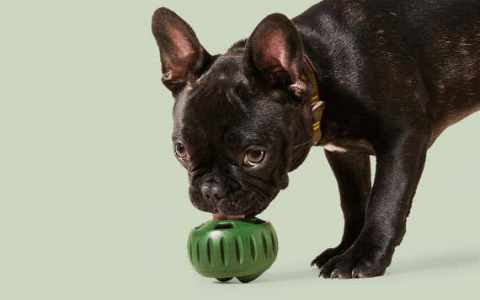
Top burrow toys for dogs: Safe, durable, and engaging now!
Alright, so, today I'm gonna walk you through my latest dog project: DIY burrow toys! My little furball, Max, he's obsessed with digging and hiding stuff, so I figured, why not make him something he'd actually enjoy and not just tear up my couch cushions?
Phase 1: Brainstorming & Materials
- First things first, I hit up the internet for inspiration. Saw a bunch of "burrow toys" online – the kind where you stuff little squeaky toys into a plush hideaway. Seemed simple enough.
- Next, I raided my craft stash. I had some leftover fleece fabric (super soft and dog-friendly), a bag of stuffing, and a whole bunch of old squeaky toys that Max had already half-destroyed. Perfect!
- Didn't have a pattern, so I winged it. I grabbed a mixing bowl to use as a template for the main "burrow" part. Just traced around it on the fleece, twice, for the top and bottom.
Phase 2: Sewing It Up (The Slightly Messy Part)
- Okay, so sewing isn't exactly my forte. My lines are never straight, but hey, dogs don't judge, right?
- I cut out the two fleece circles and pinned them together, right sides facing in. Then, I started sewing around the edge, leaving a good-sized opening – big enough to stuff the toys in and out.
- Flipped the whole thing inside out. It looked kinda like a lumpy pancake at this point.
- Stuffed it with the filling, making sure it was nice and plump. Then, I sewed up the opening. Again, not pretty, but functional!
Phase 3: Adding the Burrow Holes
- This is where the fun started. I grabbed a smaller bowl (like a cereal bowl) and used it as a guide to cut out a few "burrow" holes around the sides of the main circle.
- I didn't want the edges to fray, so I did a quick and dirty whip stitch around each hole. Honestly, it looked a bit wonky, but it'll do.
Phase 4: The Squeaky Toy Invasion!
- Time to unleash the squeakers! I gathered up all those half-chewed squeaky toys and stuffed them into the burrow.
- Made sure there were enough toys to make it challenging for Max, but not so many that he couldn't get them out.
Phase 5: The Big Reveal!
- Showtime! I presented the finished burrow toy to Max. He sniffed it cautiously at first, then went absolutely nuts!
- He started digging around the holes, pulling out the squeaky toys one by one, then burying them again. He was in heaven!
The Verdict
All in all, this DIY burrow toy was a huge success! It kept Max entertained for hours, and it was way cheaper than buying one from the store. Plus, it was a great way to use up some old fabric and toys. Would definitely recommend giving this a try if your dog loves to dig and hide things. Just don't expect it to look perfect – handmade charm is part of the fun!