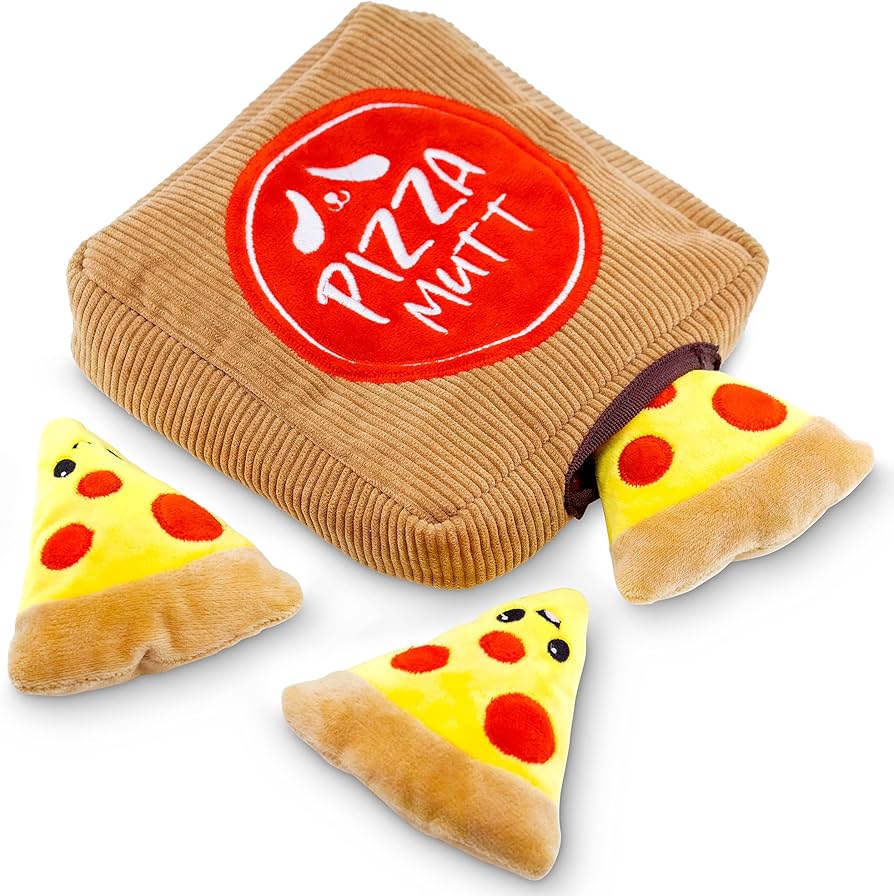
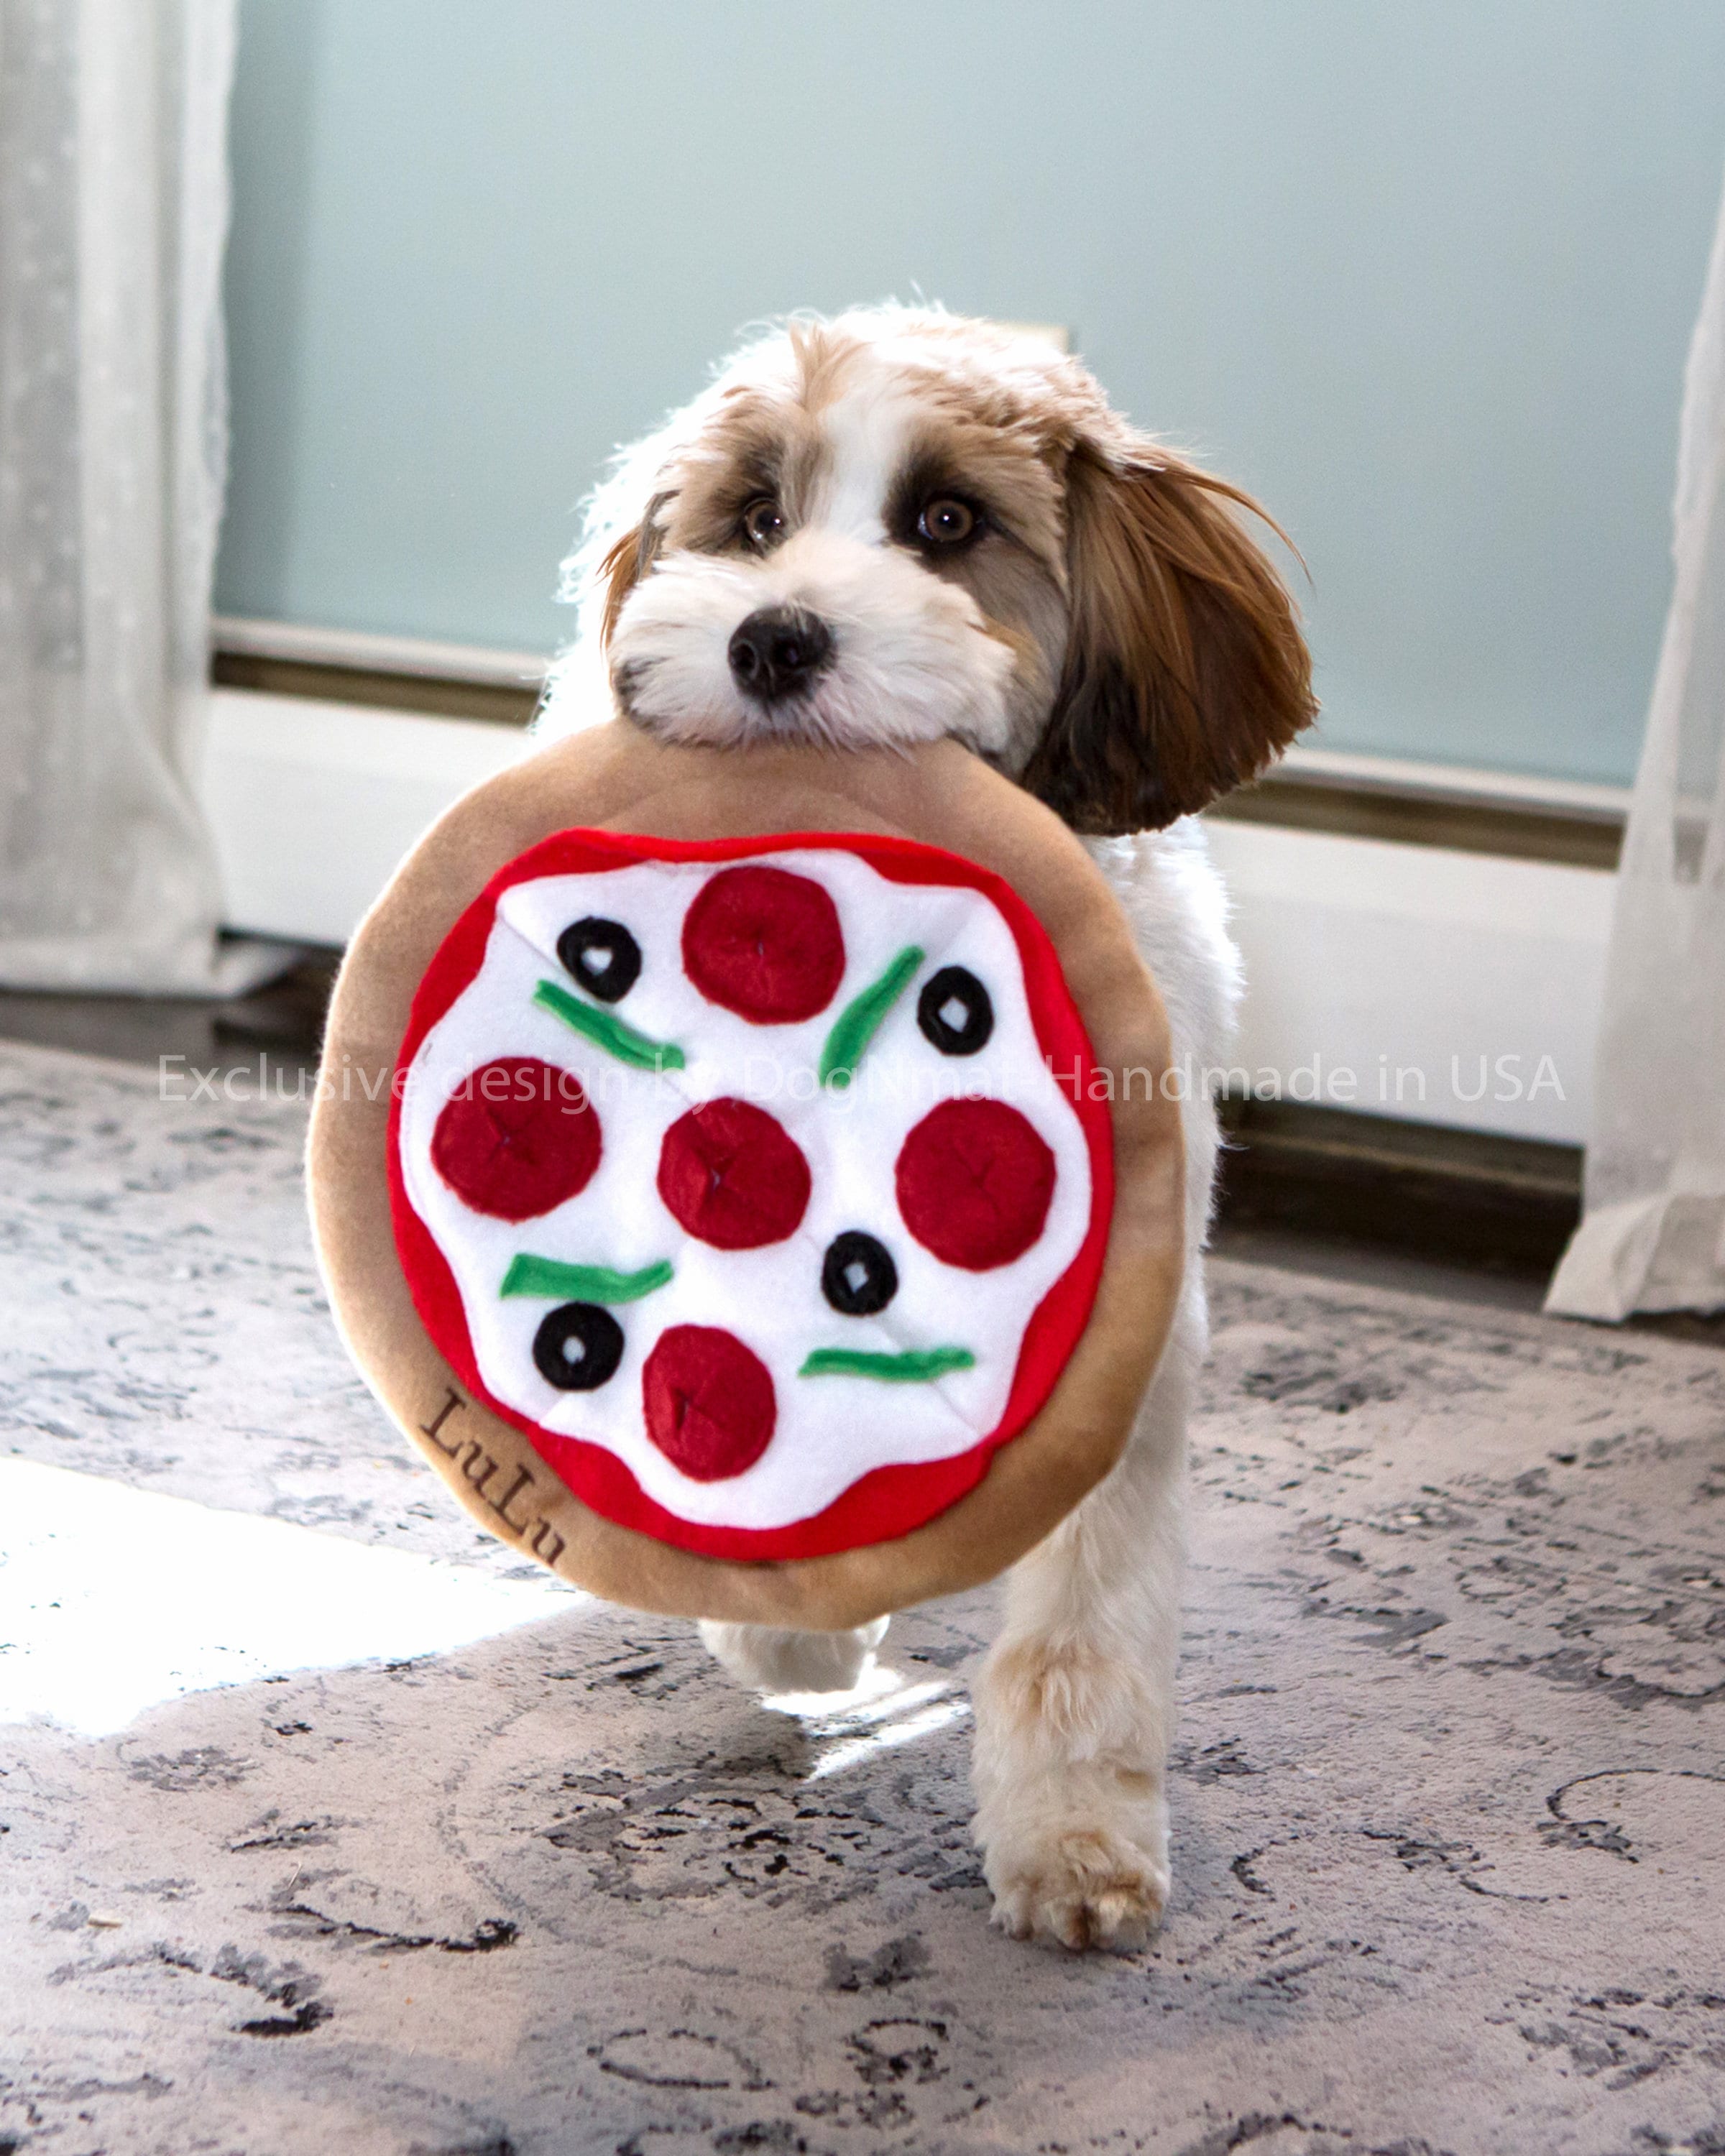
Why is the pizza dog toy a favorite? Understand the fun features that make dogs absolutely love them so much.
Getting Started with a Felt Pizza Slice for the Pup
Alright, so the other day, I noticed Max, my dog, was looking kinda bored with his usual toys. Chewed 'em all up, you know how it goes. I was rummaging through some old craft stuff and found a bunch of felt scraps. Thought to myself, why not try making him something? A pizza slice seemed kinda funny and easy enough.
Pulling Materials Together
Didn't need much, really. Found these things lying around:
- Some beige felt for the crust.
- Red felt for sauce or pepperoni, whatever.
- A bit of green and white felt for other toppings.
- Needle and some sturdy thread – definitely needed strong thread.
- Scissors, obviously.
- Found an old squeaker from a toy Max already destroyed. Figured I'd recycle it.
- Some stuffing from an old pillow I was gonna toss out.
That was about it. No fancy patterns, just winged it.
Making the Crust Shape
First thing, I grabbed the beige felt. Folded it over so I could cut two identical triangle shapes at once. You know, like a pizza slice. Made them reasonably big, maybe like a real slice size. Cut those out. So now I had a top and a bottom piece for the crust.
Cutting Out Toppings
This was the fun part. Used the red felt to cut out some circles – pepperoni, let's call it. Maybe five or six? Then took the green felt and cut some small, kinda rectangular strips. Green peppers, right? And the white felt, I just made some blobby shapes, supposed to be mushrooms or cheese, doesn't really matter to the dog, does it? Kept the shapes simple.
Stitching the Toppings On
Took one of the beige crust pieces – the top one. Laid out my felt toppings where I wanted them. Then, I just started sewing them on. Used simple stitches, nothing fancy. Just tacked the pepperoni circles, pepper strips, and mushroom blobs onto that top crust piece. Made sure they were stuck on okay, didn't want them coming off too easily.
Putting It All Together
Okay, so now I had the top crust with toppings sewn on, and the plain bottom crust piece. Lined them up, matching the edges. Before sewing them shut, I grabbed that old squeaker and the pillow stuffing. Shoved the squeaker somewhere in the middle, then packed stuffing around it. Didn't overstuff it, just enough to make it puffy like a toy.
Sewing the Slice Shut
This part needed concentration. Started sewing around the edges of the two crust pieces, joining them together. Used a basic running stitch, but I went over it twice in some places, especially the corners, 'cause I know how Max plays. Left a small gap open first, stuffed the filling and squeaker in properly, then sewed that final bit closed really tight. Double-checked the seams all around to make sure they felt strong.
The Finished Piece and the Test
Trimmed off any loose threads. Looked pretty decent, actually! Like a little cartoon pizza slice. Kinda floppy, kinda puffy. Called Max over. Showed it to him. He sniffed it a bunch. Then he grabbed it and ran off! Started squeaking it like crazy. Shook it around. Seemed like a hit, at least for now. We'll see how long it lasts, but hey, it kept me busy and used up some scraps.