Dog Toy Puzzle Ball: Benefits for Your Pup
Alright folks, lemme tell you about this dog toy puzzle ball I made. It all started when I noticed my dog, Max, was getting bored with his usual toys. He'd chew 'em up in minutes, then just kinda mope around. So, I thought, "Hey, why not make him something that'll actually make him think?"
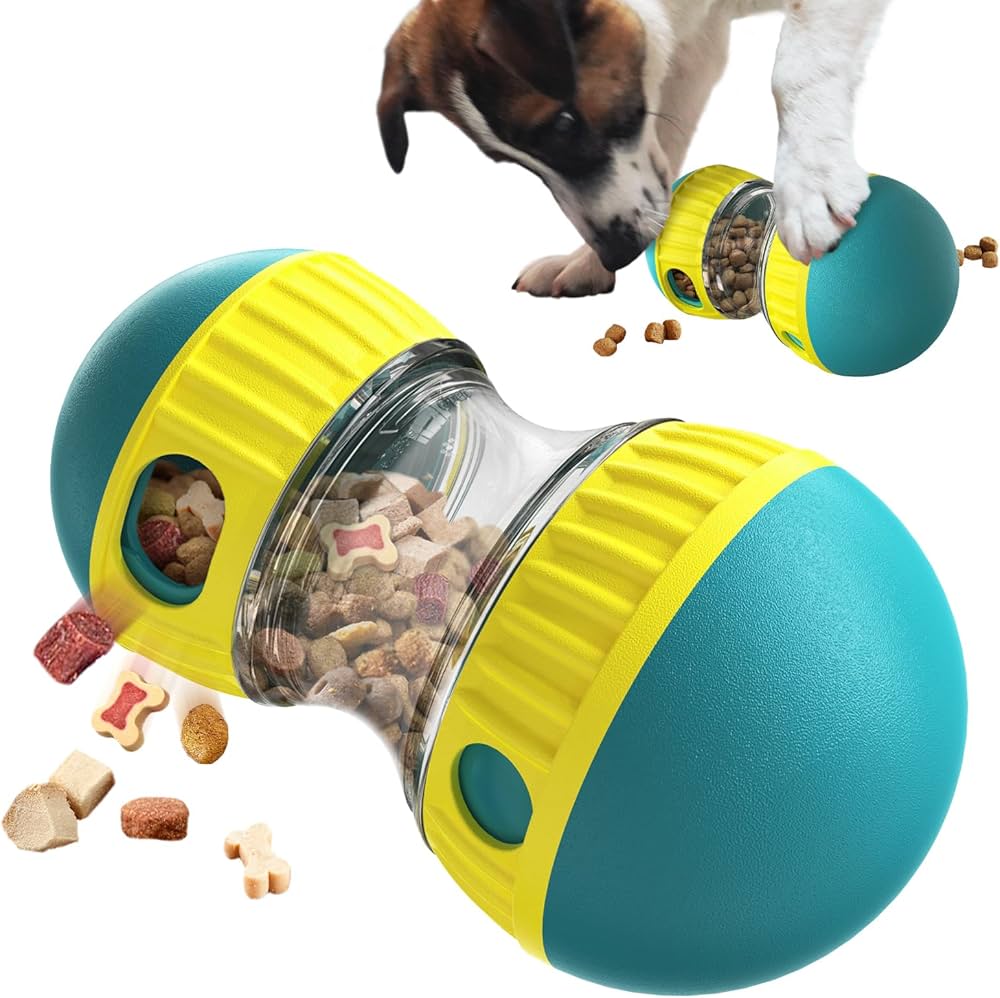
The Idea: A puzzle ball that dispenses treats. Simple, right?
First things first, I needed a ball. I grabbed an old, hard plastic ball – one of those hollow ones you get from those kiddie ball pits. Gave it a good scrub down, because, you know, germs.
Next, the tricky part: making the holes. I wanted the treats to come out, but not too easily. So, I grabbed my drill (carefully, of course!) and started making holes. I started small, like maybe ¼ inch, and tested it with Max's favorite treats. Too easy. He was getting 'em out in seconds. Okay, time to downsize.
I ended up going with holes that were just big enough for him to nudge the treats out with his nose or paw. Took some trial and error, redrilled some holes smaller by using some plastic epoxy putty, let it cure, and then very carefully redrilled with a smaller drill bit.
Then came the fun part: the puzzle mechanism. I didn't want it to be just a ball with holes. That's boring. I wanted him to actually have to work for the treats. So, I cut out a few smaller pieces of plastic (from an old container lid) and glued them inside the ball. These acted like little barriers, forcing Max to roll the ball in a specific way to get the treats to fall into the holes.
Assembly Time: This involved a lot of super glue and some creative positioning. I made sure the barriers weren't too close to the holes, otherwise, it'd be too easy. The goal was to make him move the treats around inside the ball before they could escape.
- I glued the barriers in at different angles.
- I left space so treats could still move around.
- I made sure no sharp edges were exposed. Safety first!
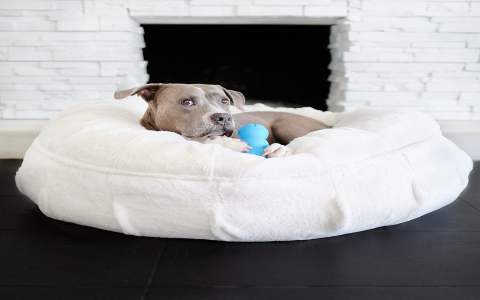
Once the glue was dry (waited a full 24 hours, just to be safe), it was time for the ultimate test: Max. I filled the ball with his favorite little training treats. I tossed it to him, and he was immediately intrigued.
He sniffed it, pawed at it, and started rolling it around. At first, he was a bit confused, but then he figured it out! He'd nudge the ball in a certain way, a treat would fall into the hole, and bam! Reward time.
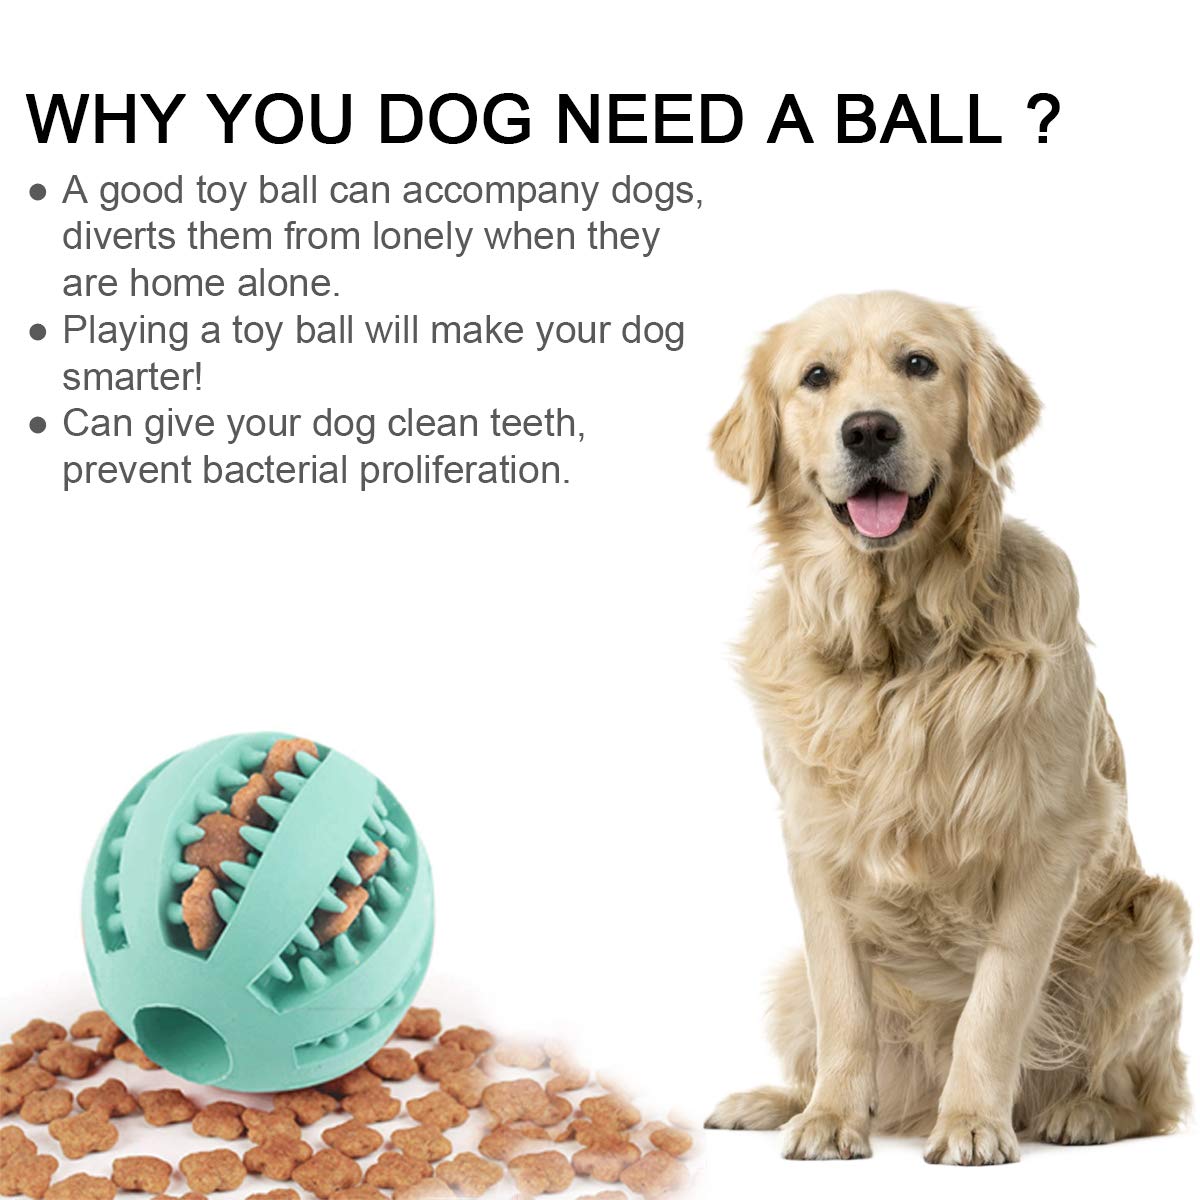
The Verdict: He LOVED it! It kept him busy for a good half hour, which is a win in my book. Plus, it was fun to watch him problem-solve. He'd get frustrated sometimes, but he'd always figure it out eventually.
Things I Learned:
- Hole size is crucial. Too big, and it's no challenge. Too small, and he gives up.
- The placement of the internal barriers is key to making it a real puzzle.
- Super glue is your friend, but use it sparingly!
Overall, this DIY dog toy puzzle ball was a success. Max is happy, I'm happy, and I saved a few bucks not buying a fancy one from the store. Maybe I'll try a more complicated design next time... stay tuned!