Frozen Dog Teething Toys: Keep Your Dog Cool & Calm
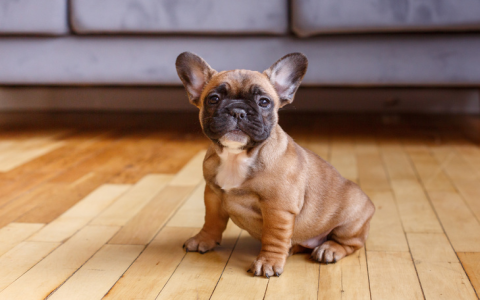
Okay, so, the other day I was thinking, my dog, Max, he's been chewing on everything lately. Like, seriously, everything. Shoes, furniture, you name it. I figured it’s gotta be the teething thing, right? He's still a pup. So, I thought, "Why not try making some frozen dog teething toys?" Sounds easy enough, and way cheaper than buying those fancy ones at the store.
First things first: The Ingredients
- Plain Yogurt: I grabbed a big tub of plain yogurt. I heard it's good for dogs, plus Max loves the stuff. Make sure it's plain, no added sugars or anything weird.
- Chicken Broth: Found some low-sodium chicken broth in the pantry. Figured the flavor would be a hit.
- Peanut Butter: Gotta have peanut butter, right? Dogs go crazy for it. Just made sure it was xylitol-free. That stuff's bad news for pups.
- Small Treats: I had a bag of these tiny training treats. Figured they'd be a fun surprise inside.
The Mixing and Assembling
Alright, here's where the fun begins. I grabbed a big mixing bowl and just started throwing stuff in.
- Yogurt Base: Dumped about a cup and a half of yogurt into the bowl.
- Broth Boost: Poured in maybe half a cup of the chicken broth. Just enough to make it a little runny.
- Peanut Butter Power: Scooped in a couple of tablespoons of peanut butter. Gave it a good stir to mix it all up.
- Treat Surprise: Tossed in a handful of those little training treats. Figured they'd freeze well and give Max something to work for.
Choosing the Right Molds
This part was a little tricky. I didn't want anything too big, 'cause I didn't want Max gnawing on a giant block of ice all day. I ended up using:
- Ice Cube Trays: Classic, easy to fill, perfect size.
- Small Silicone Molds: I had these cute little paw-shaped silicone molds for baking. They worked great for making smaller, bite-sized chews.
The Freezing Process
Okay, so I carefully spooned the yogurt mixture into all the molds. Made sure to get a few treats in each one. Then, I popped the trays and molds into the freezer. I let them freeze overnight, just to be sure they were solid.
The Big Test: Max's Reaction
The next day, I pulled out a few of the frozen treats. Max was all over them! He loved the ice cube ones. Held them in his paws and just went to town. The paw-shaped ones were gone in like, two minutes. He seemed to really enjoy them, and I felt good knowing I was giving him something that wasn’t my favorite pair of sneakers.
The Aftermath and What I'd Do Differently
It definitely kept him occupied for a while. The frozen treats lasted longer than I expected, which was great. Cleanup wasn't too bad either, just a little bit of melted yogurt here and there.
If I were to do it again, I might:
- Add Some Veggies: Maybe some mashed carrots or sweet potatoes for extra nutrients.
- Experiment with Flavors: Try different broths, like beef or vegetable.
- Use Different Molds: I saw some cool bone-shaped molds online. Those might be fun.
Overall, it was a super easy and cheap way to make some teething toys for Max. Plus, he loved them, which is all that matters. If you've got a teething pup, I totally recommend giving this a try!