Where to buy a durable dog fur toy for your dog?
Okay, so check this out! I'm gonna walk you through how I made this dog fur toy. It's easier than you think, trust me.
First things first: Gathering the Goods. I started by collecting all the shedded fur from my dog. Brush 'em good, save the fluff! You'll also need some old pantyhose (clean, obviously!), needle and thread, and maybe some felt scraps for details.
Stuffing Time! Now, grab those pantyhose. Cut off a leg. Start shoving the dog fur into the pantyhose leg. Pack it in tight! This is where the magic happens. The tighter you pack it, the firmer your toy will be.
Shape It Up! Once you've got a good amount of fur inside, tie a knot at the end of the pantyhose. Then, start molding the fur into the shape you want. I went for a simple bone shape. Squeeze, squish, and manipulate the fur inside the pantyhose until you're happy with the basic form.
Secure the Shape: Use your needle and thread to stitch around the areas that need extra definition. Think of it like sculpting. A few well-placed stitches can really define the curves and edges.
Adding Details: This is where the fun begins! I used felt scraps to make eyes and a little nose. Cut out the shapes and sew them onto the toy. You could also add ears or a tail if you're feeling fancy.
Finishing Touches: Make sure all the seams are secure and there are no loose ends. Give the toy a final inspection. And that's it! You've got a dog fur toy!
- Tip: If you're worried about the toy coming apart, you can double-layer the pantyhose. Just stuff one leg inside another before you start adding the fur.
- Another Tip: You can also add a squeaker inside for extra fun.
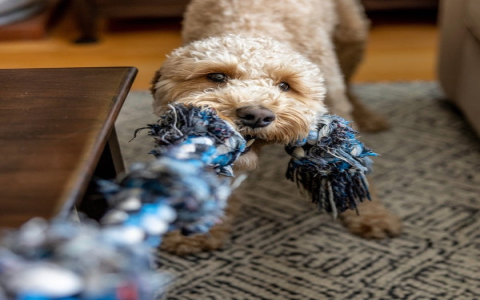
My dog absolutely loves this toy. It smells like them, which I guess is comforting. Plus, it's a great way to recycle all that shed fur instead of just throwing it away.
So, yeah, that's how I made it. Give it a try! It's a fun and easy project, and your dog will thank you for it.